Working with Images from resource folders
In this article, we will look at the specifics of adding Images in the App_Resources folder for both platforms.
Note: NativeScript supports images encoded as
PNGorJPGfiles.Note: Loading an image from the resource folders requires using the
res://prefix. This is the suggested approach, as it uses the native methods for loading the best image for the current device screen density. The file extension is not included when referencing resource images.
Generating the icon and adding them in the resources folders
To achieve this, we should generate the icons via
NativeScript Image Builder
or via the NativeScript command line tool using the command
tns resources generate icons.
After we created the images for the required device screen densities, we should add them in the required folders, described below.
Adding Android resources
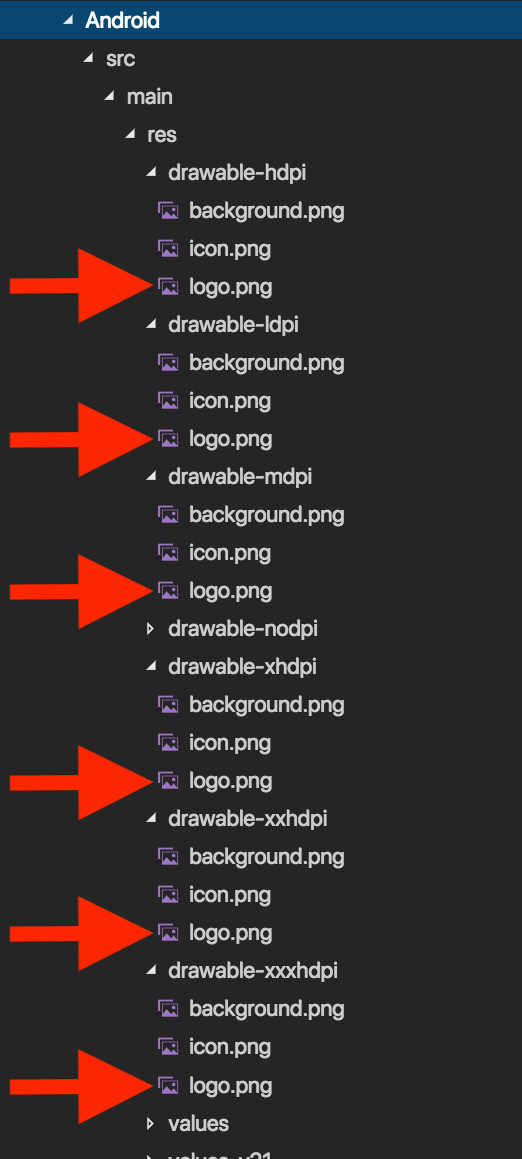
Android resources should be added to the corresponding
drawable-XXX folders inside the
App_Resources\Android\src\main\res folder in your
app:

The content of this directory will be copied inside the
platforms\android\res when the app is prepared by
the NativeScript CLI. More information about how to use drawable
resources in Android can be found
here.
Adding iOS resources
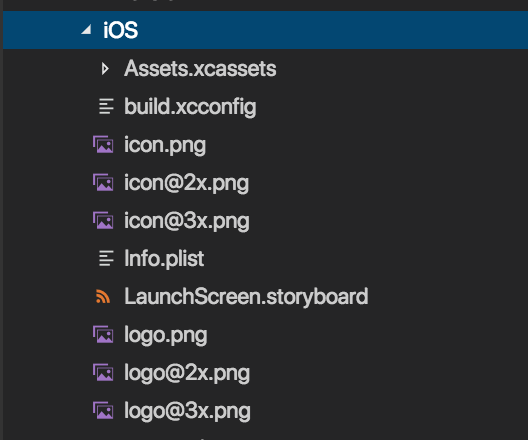
IOS resources should be added inside the
App_Resources\ios folder in your app. You can use
@1x, @2x and @3x suffixes
to target devices with a specific screen scale. Here is a list
of devices for each scale factor:
- @1x - iPad 2 and iPad mini (1st Generation)
- @2x - iPhone 6, iPhone Xr, iPad (retina)
- @3x - iPhone 6 Plus, iPhone X, iPhone Xs

For more information, see Icon and Image Sizes in the iOS Developer Library.
Once the NativeScript project is prepared (tns prepare ios) all the images will be copied to the
platforms\ios\<project-name>\Resources.
Load images from a resource
<Image src="res://logo" stretch="none" ></Image>
You can manually create an ImageSource instance from resource.
Loading icons in the TabView from the resources
<TabView iosIconRenderingMode="alwaysOriginal">
    <StackLayout *tabItem="{title: 'Tab 1', iconSource: 'res://icon'}">
        <StackLayout>
            <Label text="This is Label in Tab 1" ></Label>
        </StackLayout>
    </StackLayout>
    <StackLayout *tabItem="{title: 'Tab 2', iconSource: 'res://icon'}">
        <StackLayout>
            <Label text="This is Label in Tab 2" ></Label>
        </StackLayout>
    </StackLayout>
</TabView>
Changing the application icon
In the latest NativeScript versions we can use the CLI for
generating the application icon for Android and iOS based on the
specified image and adding them automatically in the appropriate
resource folders (App_Resources\Android\src\main\res\drawable-XXX
for Android and App_Resources\iOS for iOS). For
achieving this, we use the
tns resources generate icons <path to image>
command.